Using wholemeal bread flour adds a new level of difficulty to creating a loaf, but it also adds a whole new level of flavour, as it contains the bran and germ that’s missing in white flour.
However, these elements can get in the way when creating bread, as gluten strands are blocked from forming as appealing a texture as in white bread. Therefore, it needs to be worked a lot harder at the kneading stage. It can be simplified by including a certain amount of white flour. I made this loaf with 100% wholemeal bread flour, but I would recommend including 100-200g of the flour with white bread flour on your first try, in order to get used to the feel of wholemeal flour.
You can shape the end result into the same loaves as described in my white bread recipe – just follow those instructions after knocking back the dough!
[one_half]1) Put the flour in a mixing bowl. Add the salt to one side, and the yeast to the other, rubbing into the flour. Add the butter or margarine, and 3/4 of the water. Mix with your hands, adding water as needed, until all of the flour is incorporated and the mixture forms a wet dough. You may need to use a little less than 360ml water, or a little more, depending on the flour used.
2) Leave the dough for 30 minutes – this will make kneading easier.
3) Take the dough, and knead on a lightly oiled surface for 5-10 minutes, until smooth, silky and stretchy. Then leave in a lightly oiled bowl for 1 hour, or until doubled in size.[/one_half] [one_half_last][alert type=”blue”]
500g strong wholemeal bread flour (replace 100-200g with strong white bread flour if desired)
7g (1 sachet) instant-action yeast
2 teaspoons salt
30g butter or margarine
360ml lukewarm water
Olive Oil for kneading
[/alert][/one_half_last]4) Scrape the dough onto a work surface and “knock back” the dough, turning the mixture in on itself until all of the air has been expelled.
At this point, you can turn the dough into a variety of different breads – a bloomer loaf, rolls, or, if you own a banneton or proving basket, a loaf with a fantastic textured crust.
[tabgroup][tab title=”Bloomer”] [one_half]5) Flatten the loaf into a rectangle.6) Turn the long edges into the middle, to create a sausage shape. Then roll up the dough, so the join is underneath the loaf. Leave to prove on a baking tray for another hour.
7) Preheat the oven to 230°C. Once the dough has proved, slash diagonally along the top. Then bake for 30 minutes, or until it sounds hollow when the base is tapped. Cool on a wire rack.
[/one_half] [one_half_last]
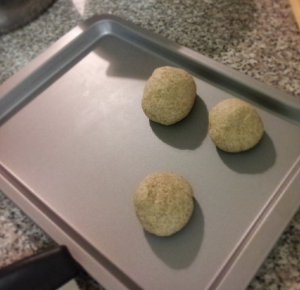
6) Take each piece of dough, and cup your hand over them. Then roll your hand around until the dough forms a tight ball. Leave to prove on a baking tray for another hour.
7) Preheat the oven to 200°C. Once the dough has proved, slash the top of each roll, then bake for 25 minutes.
[/one_half] [one_half_last]
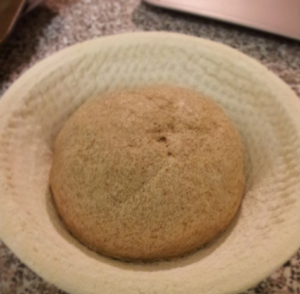
5) Shape the dough into a ball. Then, place to prove for roughly 1 hour in a well-floured banneton.
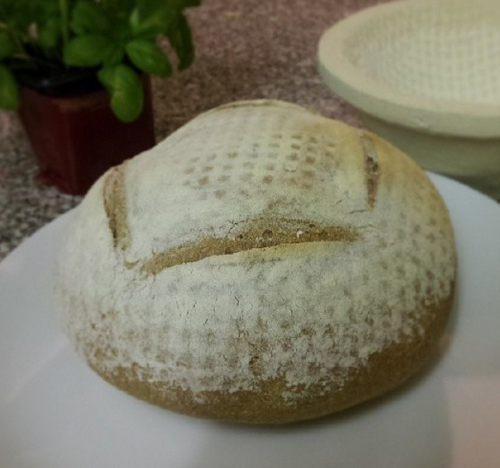
6) Preheat the oven to 230°C. Once the dough has proved, turn onto a baking tray and slash along the top. Then bake for roughly 30 minutes, or until it sounds hollow when the base is tapped. Cool on a wire rack.
[/one_half] [one_half_last]
Enjoy served toasted with paté!


